Gel manicures are beautiful to have. Every woman would love to show off their perfectly-done manicures on social media and gain the admiration of friends and loved ones. While gel polish remains the favorite of people globally, dip powder manicures have recently become the trend, and for a good reason, as well. Why do people love dip powder manicures and relish having them on their nails?
Why Dip Powder?
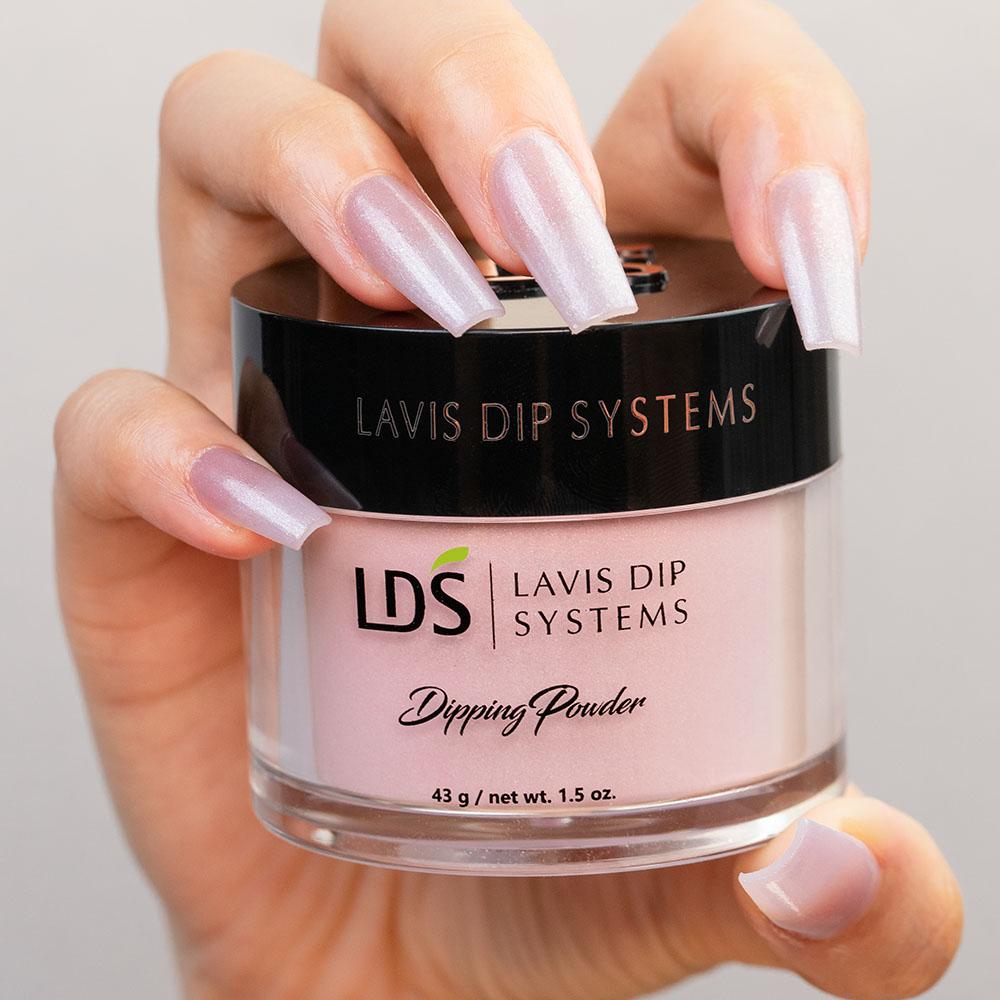
A dipping powder nail job is the next best alternative to a gel manicure. Besides being odorless, dipping powder is amongst the safest to use. The best-quality dipping powder does not contain toxic ingredients like Formaldehyde, Toluene, Camphor, Formaldehyde Resin, DBP, Xylene, and Ethyl Tosylamide. Secondly, the LDS dip powder nails manicure does not require exposure to UV/LED lamps. Despite UV/LED treatment, these manicures last comfortably for three to four weeks.
Compared to gel manicures, the dipping powder job costs less. One can master the technique conveniently at home. In a way, the pandemic lockdowns have proved beneficial for dipping powder manicures because people have started having these manicures in their homes’ comfort. If you belong to a rare breed that does not know how to apply dip powder, please read on to understand the procedure.
The Dipping Powder Manicure – The Procedure
Before you sit down for a dip powder manicure, it is advisable to keep these ingredients ready. It is essential because dip powder manicures can get dry quickly.
- Dip powder color of their choice
- Basecoat, activator gel, and topcoat application
- Emery Board nail file
- Manicure buffer
- Cuticle pusher
Step 1: Preparation is crucial
One should prepare their nails for the dip powder manicure. The preparation involves cutting the nails into a perfect shape without any sharp edges. One can use the emery board nail file to smoothen the edges. The nail manicure buffer should help to prepare the nail surface.
The cuticles can come in the way of a perfect dipping powder manicure. To get the best LDS nails, the cuticles need to push back into their grooves gently. An orangewood cuticle pusher can do the job perfectly. Many women make the silly mistake of cutting their cuticles. It is not necessary as you can quickly push them into their grooves.
Use a lint-free cotton wipe to clean the debris. The nails are now ready for the dip powder manicure.
Step 2: The basecoat application
The basecoat plays a critical role in the dipping powder manicure. One should understand that the dipping powder sticks to the basecoat and not to the nail. Hence, the basecoat application should be perfect. While applying the basecoat, it is advisable to leave out a tiny gap between the basecoat border layer and the cuticle. It prevents the dipping powder from sticking to the cuticles and gives rise to issues like nail lifting. One way of ensuring that the basecoat does not touch the cuticle is to attach the adhesive tape to the nail base around the cuticle area.
When applying the basecoat, it is essential to have a thin coat because the nail polish could appear thick and ungainly.
Step 3: The Dipping Powder Procedure
One can perform this procedure in two ways. The standard practice is to dip your nails into the dipping powder bottle at a 45-degree angle. It ensures that the powder sticks to your nail. An alternative way is to sprinkle dipping powder from the bottle into a separate container and dip your nails into the powder. The advantage is that the latter is comparatively more hygienic. However, it can result in the wastage of dipping powder. Hence, it depends on the individual as to which procedure she intends to follow.
A clean brush proves handy to dust off the excess powder sticking to your fingers. The best aspect of dipping powder is that it adheres to the basecoat and not to your fingers. Therefore, it is easy to dust off the excess powder.
If you need a thicker coat, you can have a second or even a third dip.
Step 4: The Activator gel and topcoat application
The activator gel helps bind the dipping powder to the basecoat. The ingredients present in the dipping powder react with the activator gel and perfectly attach to the nail bed.
Finally, you use the topcoat application in thin layers to give your nails the gloss they deserve. It depends on whether you want glossy or matte LDS dipping powder color. A lighter coat ensures a matte finish, whereas a glossy finish requires a thicker topcoat application.
The best part of the dipping powder manicure is that it does not require any curing under the UV lamp. The topcoat application dries out within a minute or two of applying it on the nails.
Conclusion
Now, your LDS dipping powder nails are ready for displaying proudly on your social media handles. This manicure lasts comfortably for more than three to four weeks, after which you need to remove the dipping powder. Keep watching this dedicated space to learn more about the removal procedure.